Not knowing whether we were having a boy or a girl meant we faced a minor challenge when planning the nursery for our little baby-to-be, namely narrowing down a colour scheme that wasn’t gender specific. When I learned I was pregnant I created a (secret) pinterest board with images for inspiration, but struggled to decide on a colour scheme that would suit a boy or a girl. Especially because we are renting and can’t make a bunch of changes to the room, it seemed simpler to do something monochromatic. I also read some articles, such as this one here, that suggest strong contrasting images or patterns, such as black and white, provide the best sensory stimulation for newborns as their eyesight develops. I also realized that many of the inspiration images I had pulled together featured quotes. These ideas became the basis for the final design.
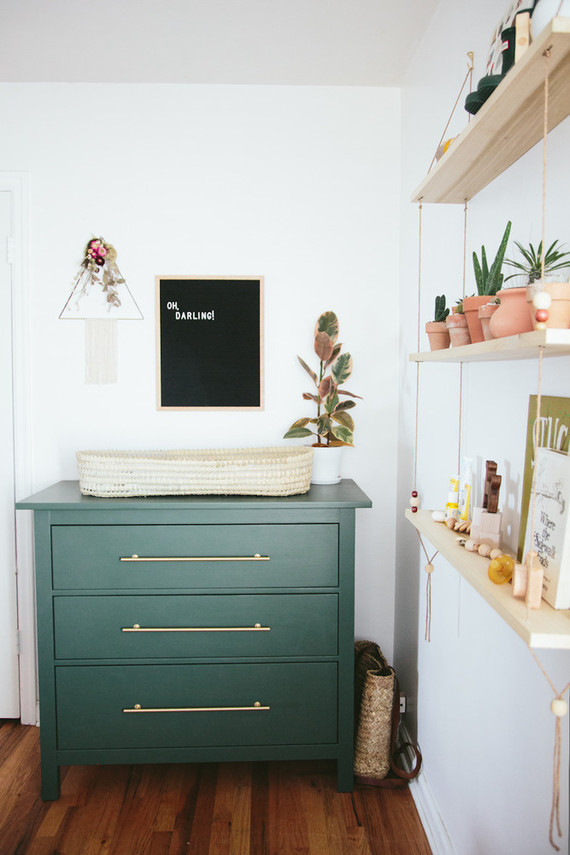
These were a couple of nursery images I collected as I was gathering ideas. I like the simplicity of the design and the inclusion of quotes.
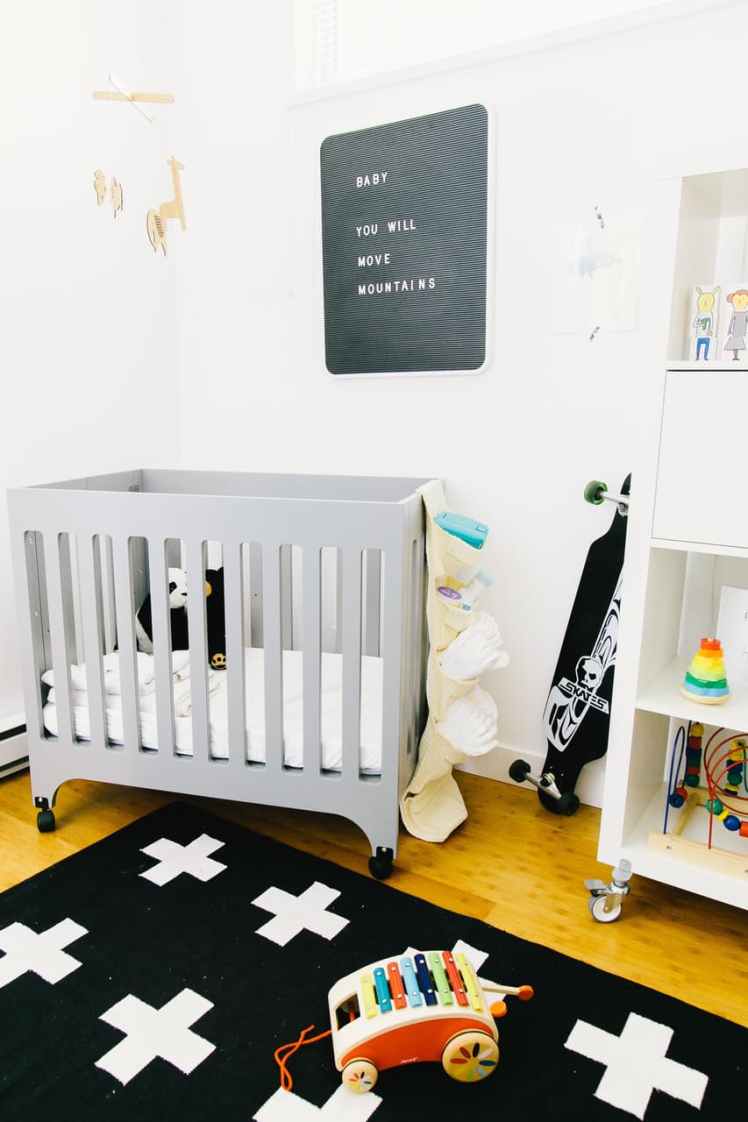
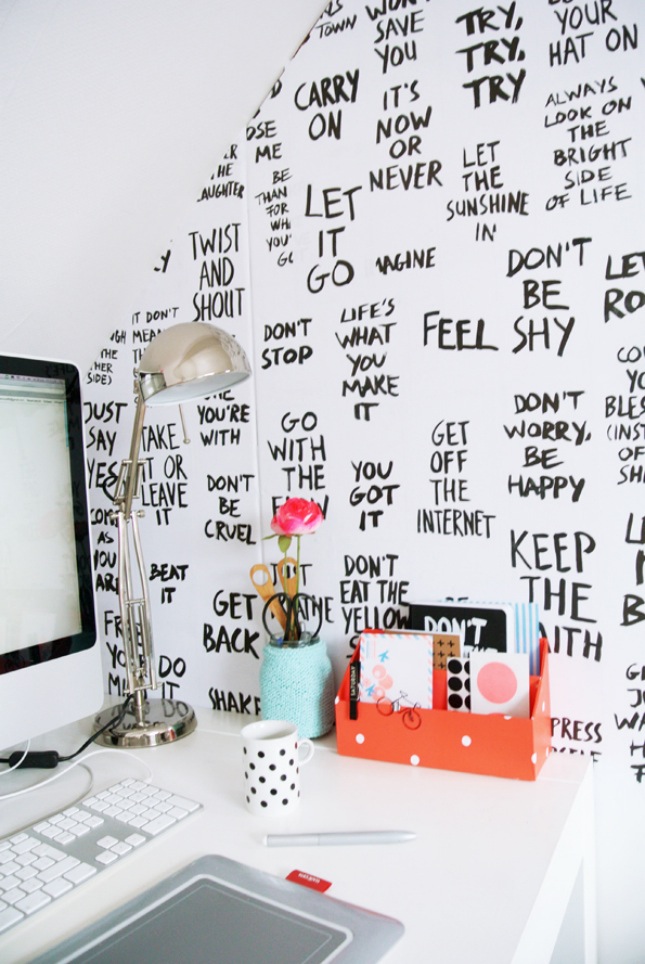
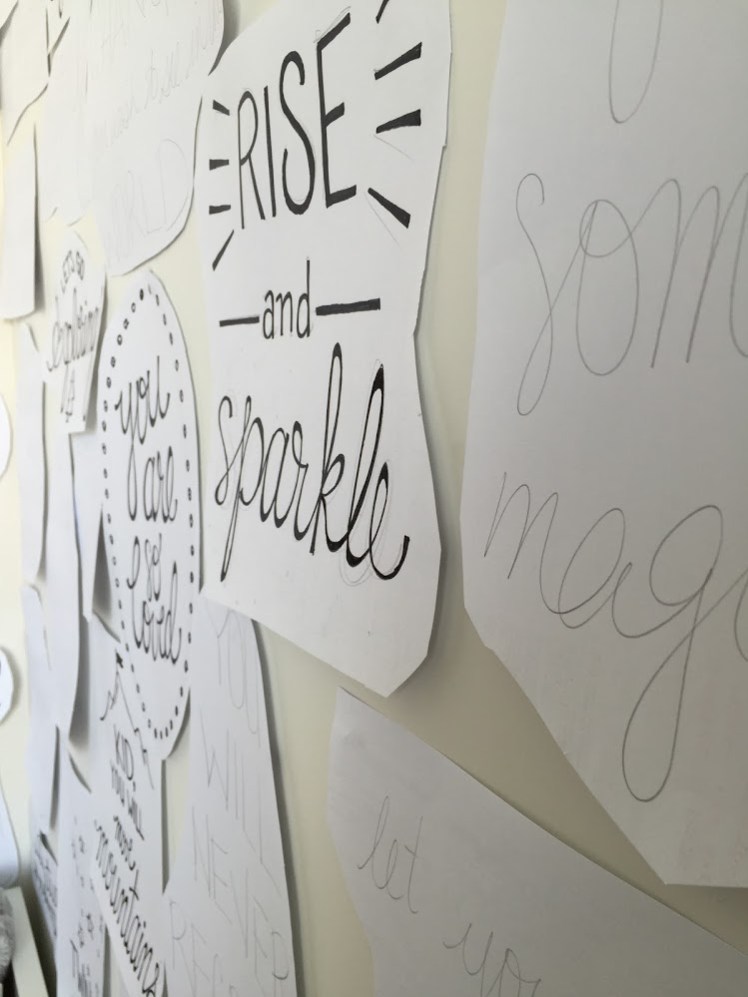
It wasn’t until I found the image below, however, that I finally came up with a strategy for our nursery. When I saw this idea, I began to formulate a plan and decided to create a custom mural of our favourite quotes and sayings, all in black and white.
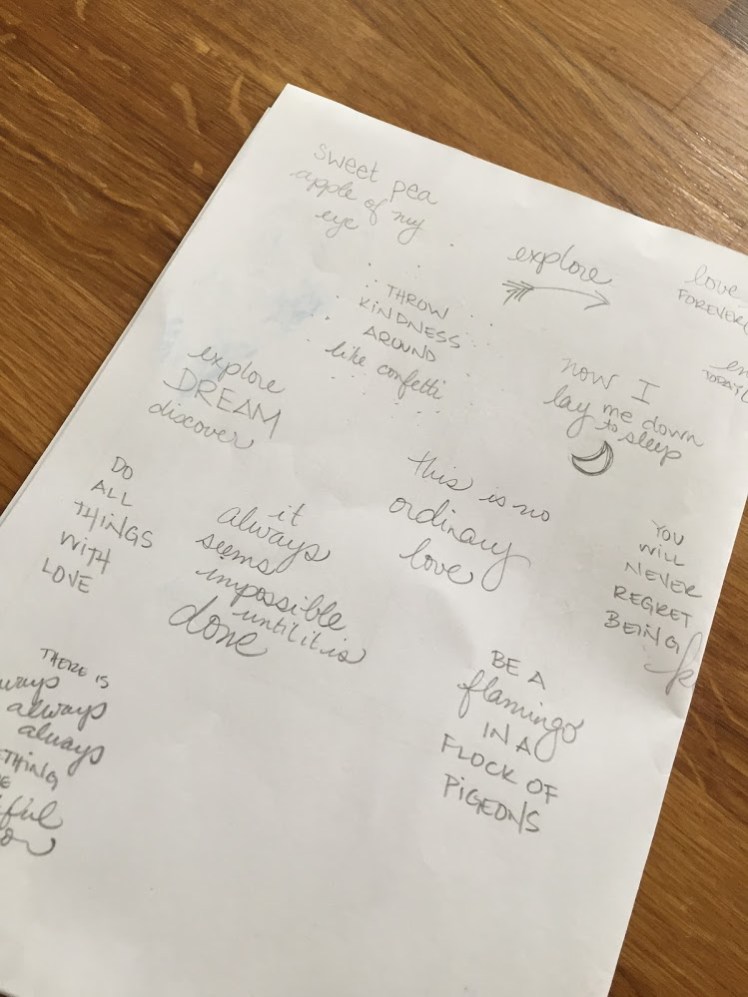
Step 1: gather favourite quotes. Some quick Pinterest searches helped with the classics, and I also kept a running list on my phone when I heard something I liked. We also included some favourite song lyrics and phrases we remembered from when we were little.
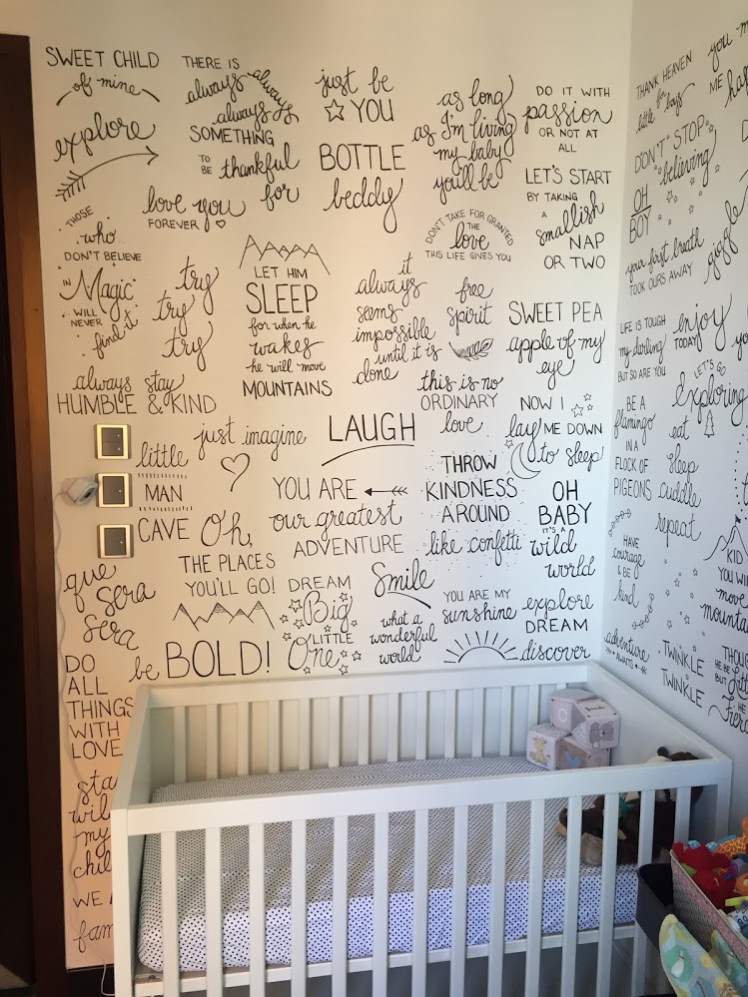
Some favourites: “Hold the door, say please, say thank you” from Tim McGraw‘s song Humble and Kind; “Sweet Pea, Apple of my Eye” from Amos Lee‘s song Sweet Pea; “Lights out flood the rink”, a phrase Braden’s parents used to say to him when they were tucking him in at night; “Now I lay me down to sleep”, the first line from a little children’s prayer I used to recite; and, “Run like you are on fire towards your wildest dreams”.
Step 2: write out quotes to scale. This is also where I developed my “fonts”. Everything is my own handwriting and I decided to write in two styles only: a scripty handwriting and a blocky all caps. This kept it simple for me and also helped to unify the look of the wall.
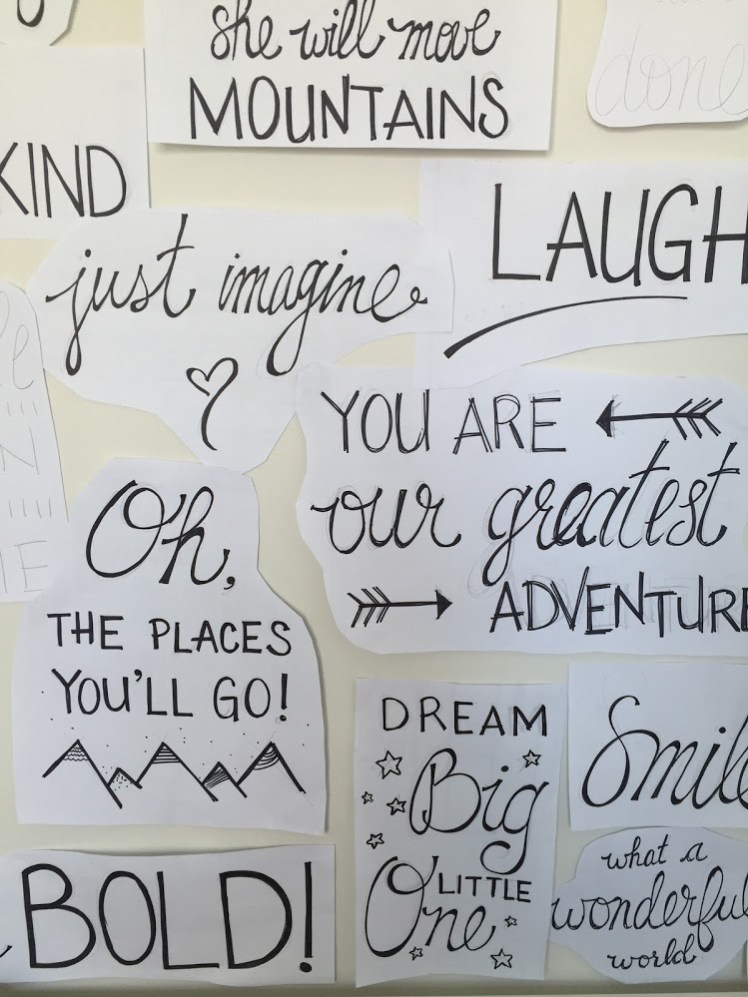
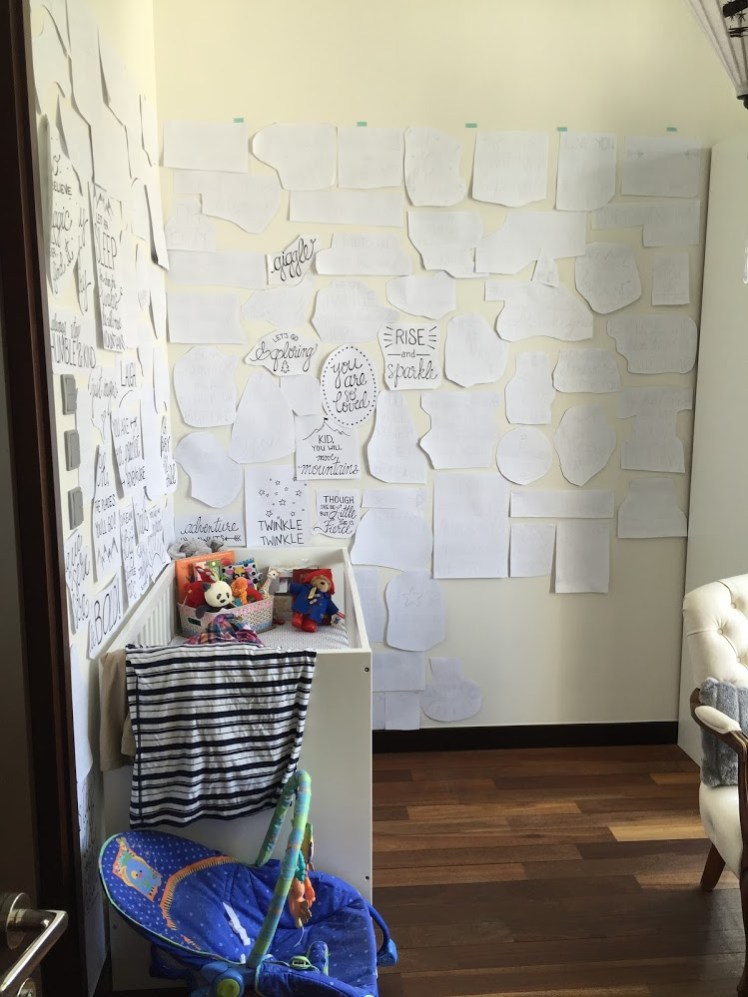
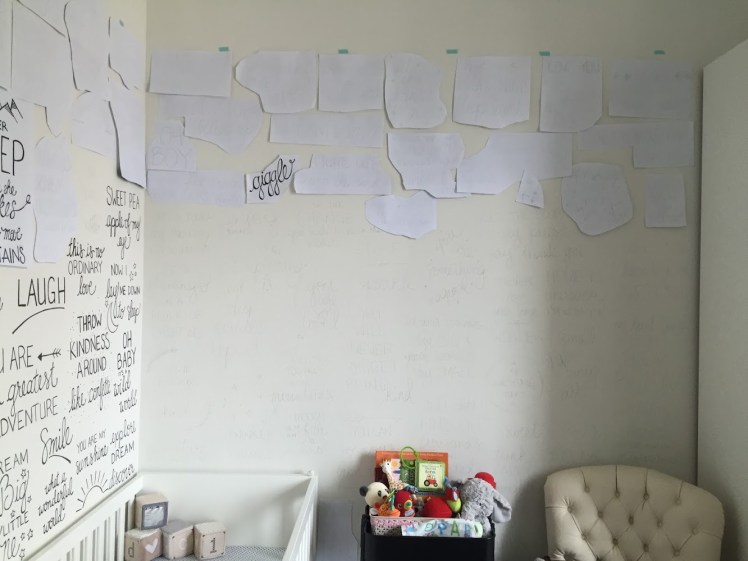
Step 3: assemble the quote on the wall to create the mural effect. I moved the individual quotes around a lot to make sure the shape of each one worked together, that there was enough spacing that they didn’t run together, and that the content of the quotes was diverse. I used white mounting putty to make it easy to take them on and off.
Step 4: I soon realized that if I was going to create a polished version of each quote on paper, I would be working on this mural until our baby was a teenager. I shifted my strategy and started to make little thumbnail sketches and then only did rough paper templates with pencil. This saved a lot of time.
Step 5: finalize the placement of each quote. I created a datum between the top of the door to the bathroom and the edge of his freestanding wardrobe. I measured from the floor up to make sure the invisible line was straight, and marked it in blue washi tape. For the most part I just created the quote shapes and fit them together like a puzzle. Here and there, I created a template and filled in the quote to fit the space. It was a slow process.
Step 6: remove the paper quote and then redraw by hand in pencil to recreate the template. Then I traced over using a Sharpie fine point pen. Next I retraced the lines and fattened up the letters.
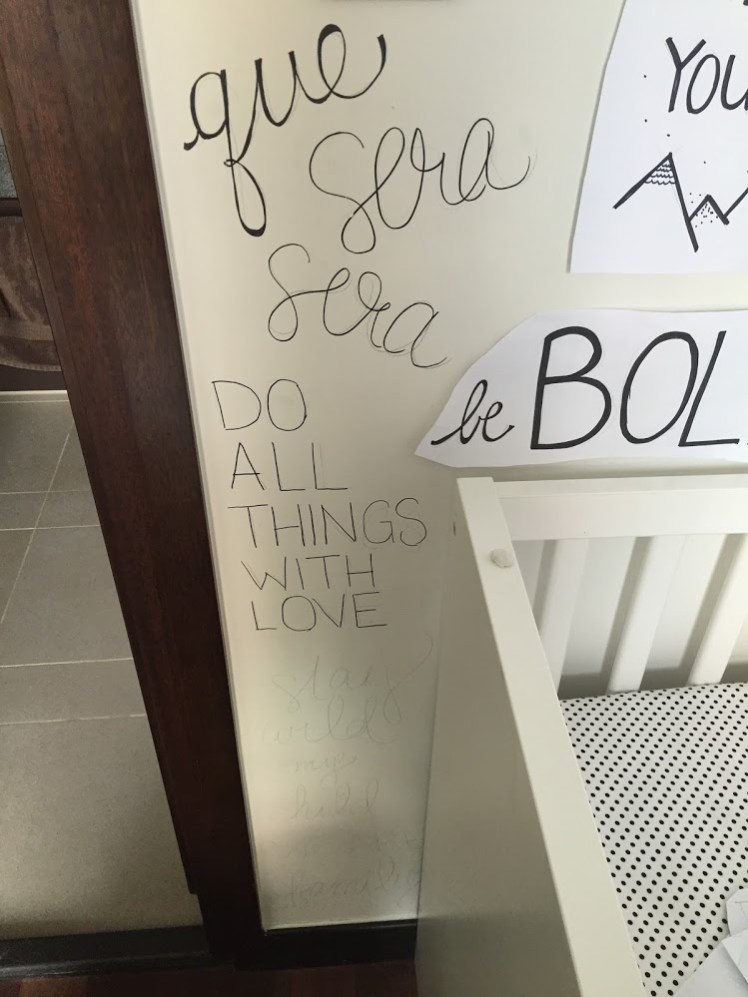
Step 7: finally putting pen to wall felt great. I also quickly realized that a little test I did in a corner of the wall wasn’t indicative of how the Sharpie pen would actually works on the wall. The chalky-ness of the plaster absorbs the ink and leaves granules in the felt tip. The pens ran dry quickly and I ended up needing to soften them on paper first to widen the tip and make them last longer.


Step 8: use a white eraser to remove all the pencil lines and tidy up the wall.
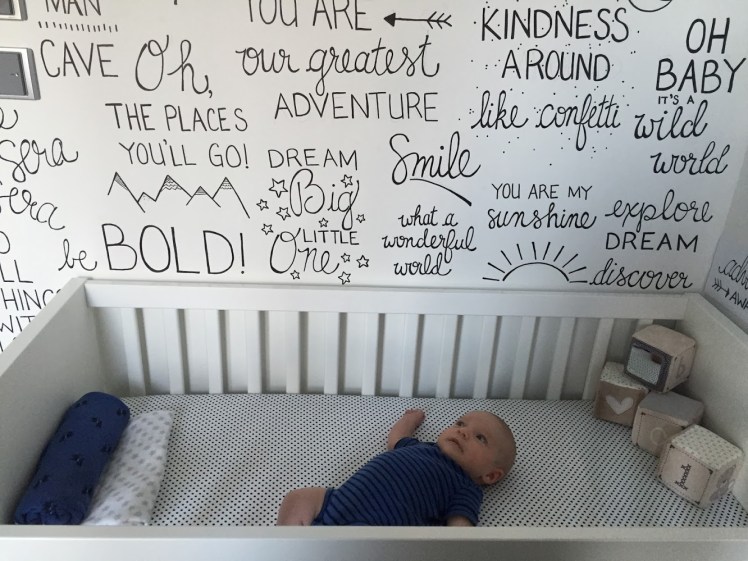
When I started working on the mural, Campbell was tiny and napped in his bassinet in our bedroom. While he napped I was able to work on this. I didn’t meet my goal though, and he had outgrown his bassinet and started napping in his cot before I finished. This meant that my time to work on it was limited to when he was awake and happy enough to lie in his cot and play while I worked. Luckily he’s a chill little dude and was quite content most of the time to lie and watch me work.
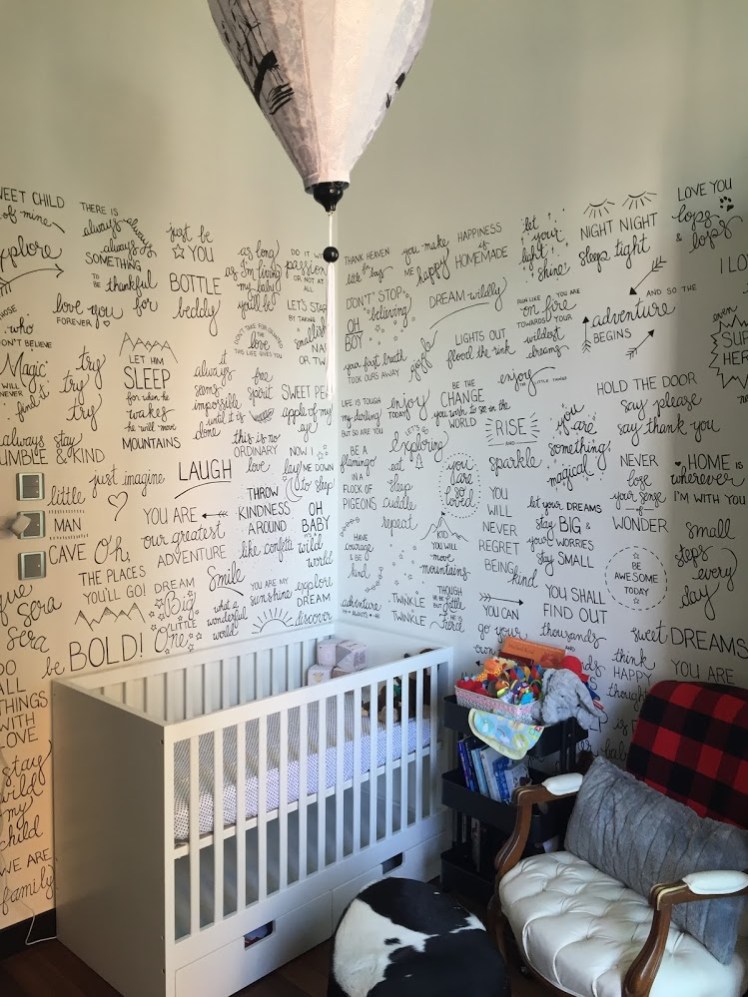
If I counted correctly, there are 96 sayings on the wall.
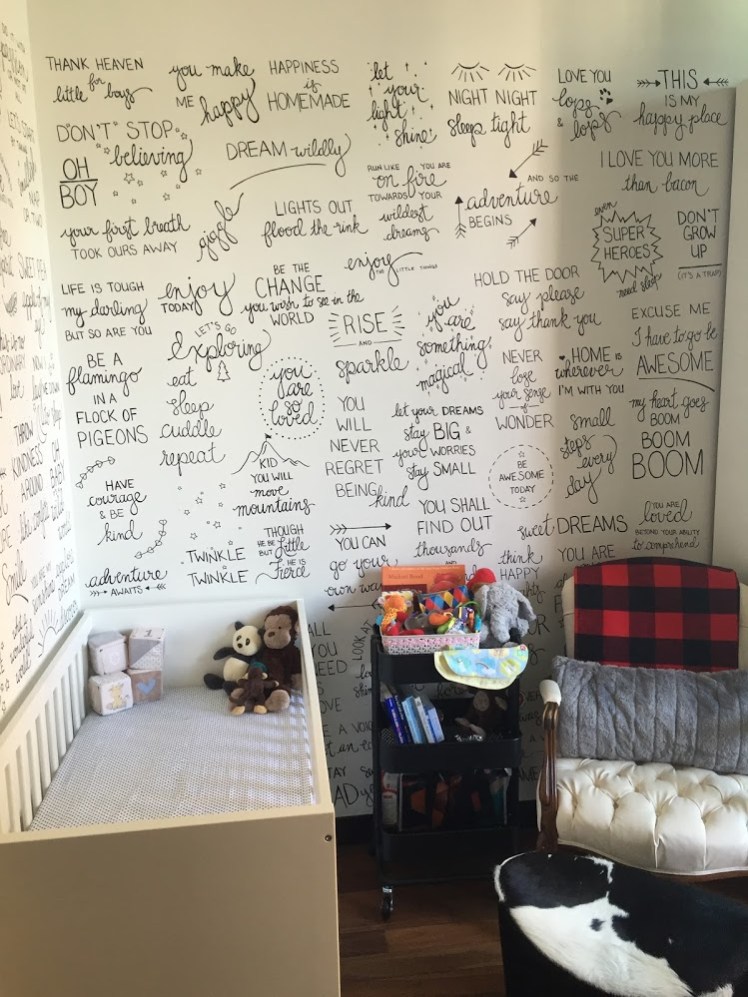
This mural for Campbell is a labour of love! I am so proud of what I created and all the hours of work that went in to it. Some people have asked whether it will be hard to leave it behind one day when we move out of this apartment. Admittedly, it was a crazy amount of work to one day paint over. I also think that’s part of the beauty of it. For now this is our world – and the world we have created for Campbell – and eventually it will be time to move on. When that time comes I will have the opportunity to create something new and exciting for him. Until then, though, he has a collection of words to guide him – and us – as we navigate this new adventure together.

Awesome work Alison!!
LikeLike
Just read Campbell’s Nursery Mural… it is so well written and having had the privilege of seeing the wall in person and watching you magically pour your love for Campbell into your creation, I know how very much it will mean to him. Well done Alison!
LikeLike
What an amazing nursery you’ve created Alison. Big congrats on the arrival of your beautiful baby boy. I’d been hoping I’d run into you guys in the lift, I was wondering how you were. Sending Christmas greeting from Thailand.
Lynne x
LikeLike
This is so lovely! and I love all the quotes! so neat to be able to see Campbell’s room, across the miles…. luv ya.
LikeLike
Love this wall, and full of admiration for your work on it!
LikeLike